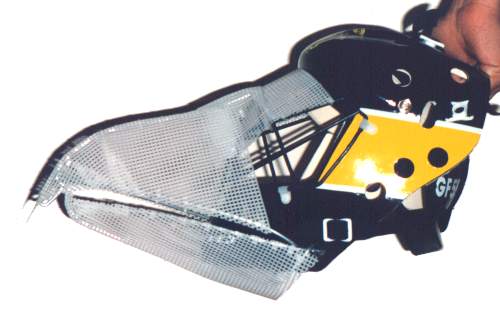
The white mesh is plastic
needlepoint material, sold at art and craft stores for about 25 cents a sheet. It's
very flexible, and has the nice behavior of forming smooth curves no matter how you bend
it. The mesh is tied to the tension wire with plastic tie-wraps. This is an
earlier design, because I don't have a good picture of the current design with plastic
mesh on it.
In the next picture, the white plastic mesh has been
covered with Magic-Sculp epoxy resin, available from TAP Plastics for about $10 a pound.
Unlike some other epoxy resins, this stuff is easy on the fingers and doesn't cause
instant brain damage. It molds just like clay for about an hour, and cures to full
hardness overnight. I pressed it into the plastic mesh to make sure it would hold
well.
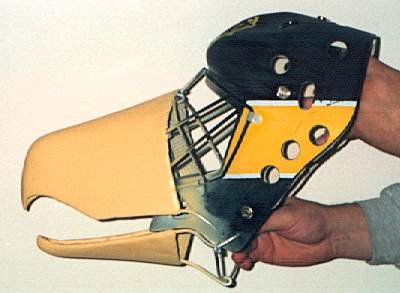
After the Magic-Sculp hardened, I sanded it with one of
those flappy drum-sander drill attachment thingys which generated a virtual mountain of
dust, after which I stopped to wash my pants. I highly recommend a professional
grade filter mask for this operation. The one I use filters out dust, particles and
organic vapors (no odors! yay! :) It's made by 3M and costs about $30 at the
local hardware store.
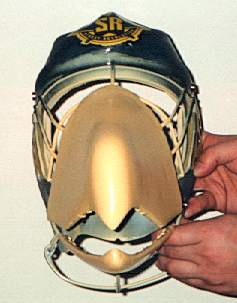
After hand sanding the beak to smooth out the marks
from the power sander, I removed the dust and spray painted it (Rust-Oleum American
Accents, Buttercup). Finally, I brushed on a hard protective coating of Ace clear
satin finish Varnish.
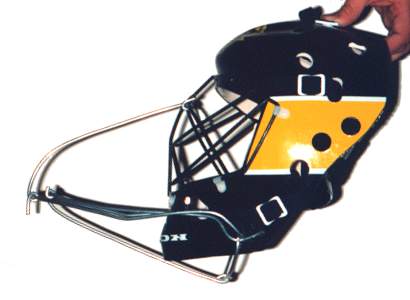
Notice that there is very little forward vision, but
the sides are open. This is deliberate. By forcing myself to look out of the
sides of the helmet, I'll have to tilt my head to the side when I look at someone -- the
same thing a bird would do. And that'll give me a greater feeling of actually being
a griffin. :) For walking from place to place, I'll simply keep my beak open a
little to get more forward visibility. |